How to Install a Radio in Your Car Easily?
Installing a radio in your car can seem challenging. However, with the right steps, you can tackle it easily. Understanding the basics of radio installation is crucial. Many car owners feel intimidated by this task. They worry about damaging their vehicle or the new radio itself.
Before starting, gather necessary tools. You will need a screwdriver, wire connectors, and a panel removal tool. These items simplify the installation process. Read the manual that comes with your new radio. It provides vital instructions specific to your model. Common mistakes include confusing wires or skipping steps. Accidental damage may occur if you rush.
Take your time when removing the old radio. Carefully detach the wiring harness and notice how everything connects. Make notes or take pictures for reference. Installation involves fitting the new radio, connecting wires, and securing everything in place. A cluttered workspace can lead to confusion. Consistency in your approach makes a significant difference. It’s okay to pause and reflect if you feel stuck. With patience and attention, you will see great results.
Understanding Different Types of Car Radios Available for Installation
When it comes to car radios, variety is key. There are several types available. Each type offers unique features that cater to different needs. Digital media receivers are popular for their Bluetooth capabilities. They allow hands-free calls and wireless music streaming. According to industry reports, more than 80% of new vehicles come equipped with Bluetooth. This reflects the growing demand for connectivity.
Another option is the traditional head unit. These units typically come with AM/FM radio and CD capabilities. While they may seem outdated, many drivers still prefer their simplicity. They do not require complex setups and are often cheaper. Upgrading to a more modern unit can greatly enhance your driving experience.
Tip: Consider what features are essential for you. Do you need just radio, or do you want Bluetooth and navigation?
For those who love music, a multimedia receiver might be the best choice. These provide larger screens and support for video playback. Yet, they can be more challenging to install and use. Not all drivers are tech-savvy. This might lead to frustration during setup.
Tip: Read installation guides before starting. It saves time and reduces errors.
Understanding the differences between these types can help you make informed choices. Investing in the right radio enhances your travel experience. Whether you choose simplicity or advanced technology, ensure it aligns with your needs.
Gathering Essential Tools and Materials for Installing a Car Radio
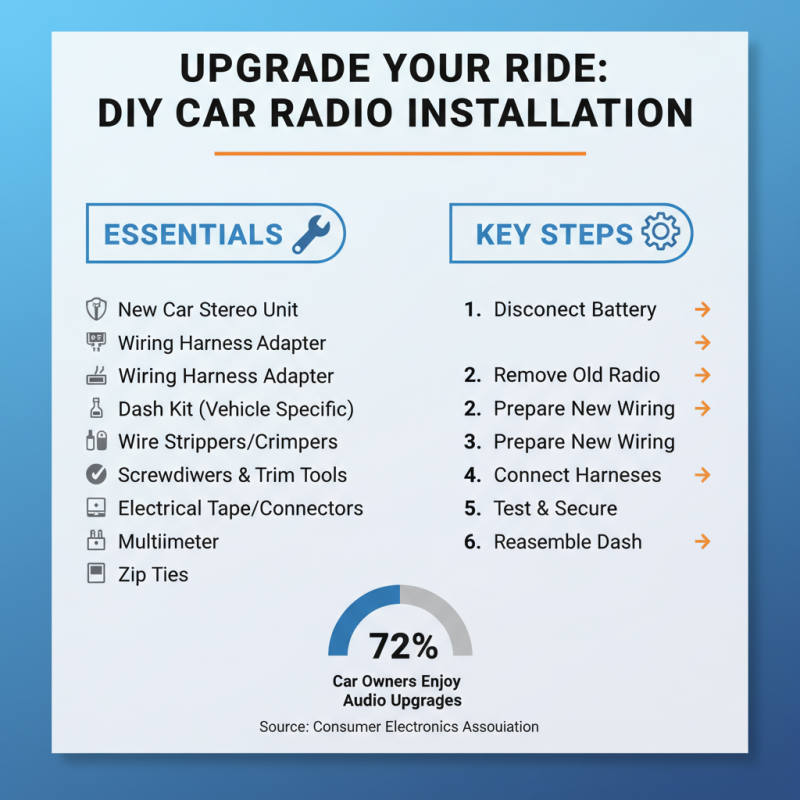
Installing a radio in your car can transform your driving experience. However, before starting, gather essential tools and materials. A report from the Consumer Electronics Association states that 72% of car owners enjoy updating their vehicle's audio system.
You’ll need some basic tools. A screwdriver set is essential for removing screws. Wire strippers are crucial for connecting wires properly. Don’t forget electrical tape to secure connections. A dash kit may be necessary to fit the new radio. When testing your new radio, ensure you have a steady power source and a reliable antenna.
Tips: Always check compatibility before purchasing. Double-check your car's model and the radio’s specifications. If you're uncertain about wiring, consult online guides or videos. Remember, mistakes can lead to more repairs later. Leave time for practice and adjustments.
Step-by-Step Guide to Removing the Old Car Radio Safely
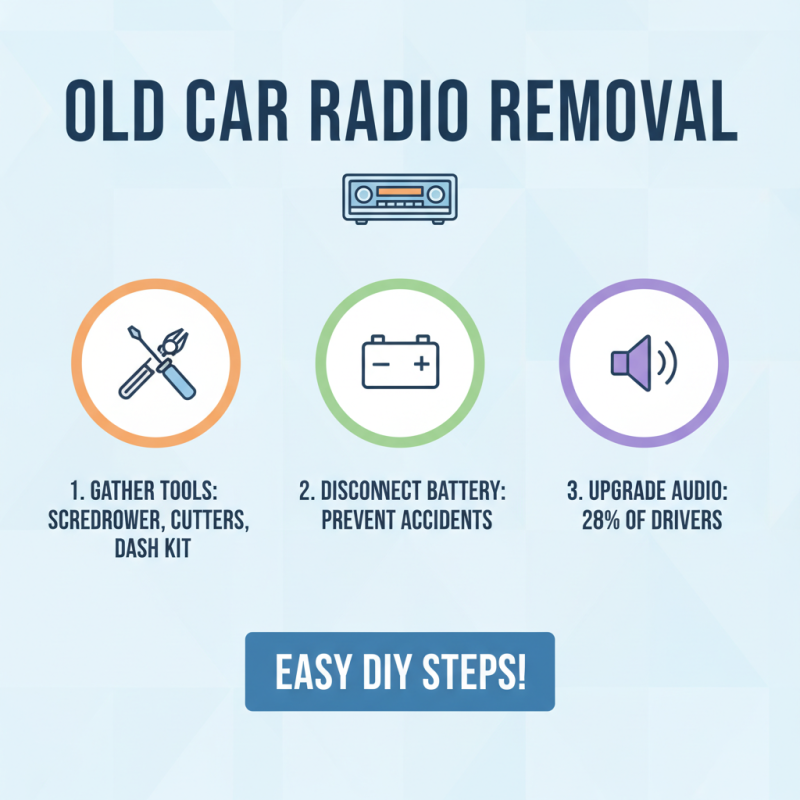
Removing an old car radio may seem daunting, but it can be straightforward with the right steps. Start by gathering your tools: a screwdriver, wire cutters, and a dash kit. According to industry reports, around 28% of drivers prefer upgrading their audio systems for better sound quality. To safely remove the old radio, disconnect the car battery first. This prevents any electrical accidents.
Next, remove the dash cover and locate the screws holding the radio. Carefully unscrew them, and gently pull the radio out. Be mindful of any wiring harnesses connected to it. An estimated 34% of DIY installers face challenges with wiring. Keep track of each connection as you remove it. Taking photos during this process can help you remember where everything goes later.
After detaching the old unit, reflect on the experience. Many enthusiasts wish they had researched installation tips beforehand. Understanding common pitfalls can save time and frustration. For instance, aligning the new radio correctly is crucial for a seamless fit. Misalignment can lead to issues down the road. Ensure you’re prepared before starting the installation for a smoother process.
Connecting Wires and Fitting the New Radio Correctly
Installing a new radio in your car can seem daunting. However, connecting wires and fitting the unit correctly is essential. Start by disconnecting the car battery. This step ensures safety during installation. A recent industry survey reported that improper wiring causes 30% of car audio issues.
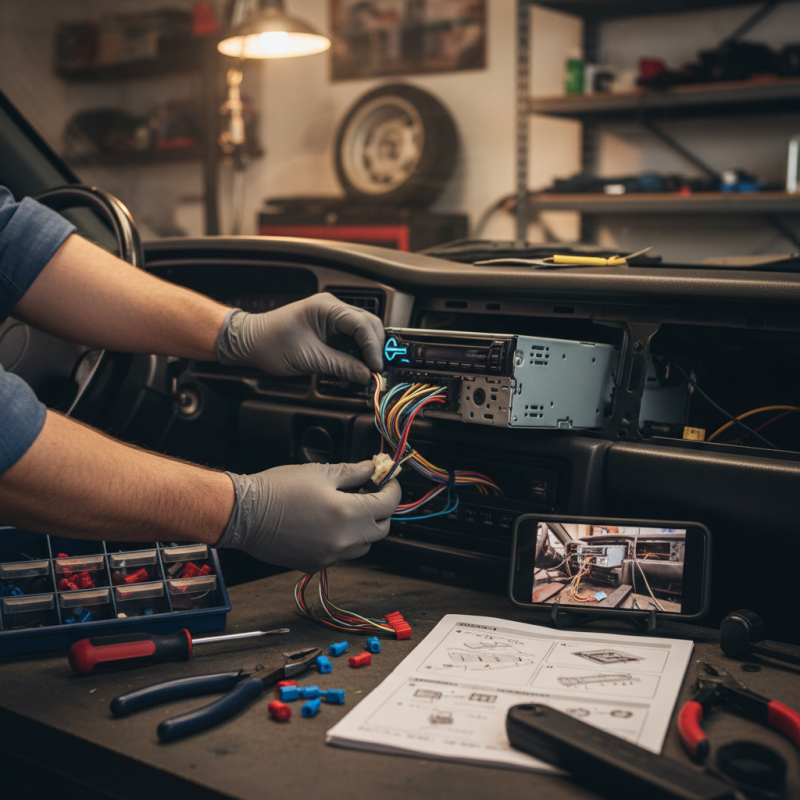
When connecting wires, identify the harness that came with your new radio. Match the color-coded wires with those of the car. The red wire typically connects to the ignition, while the yellow wire connects to the battery. For speakers, the black wire usually connects to the ground. Double-check each connection, as even a small mistake can lead to malfunction.
Tips: Always use a wire stripper to expose the copper. Properly twisting and securing each connection will enhance durability. If you’re uncertain about any wiring, consulting a professional is a wise choice.
Fitting the radio in place is just as important as wiring. Ensure it's securely mounted to avoid vibrations while driving. Keep in mind that gaps or misalignments can lead to noise or even damage the unit. Industry findings suggest that nearly 15% of DIY installations result in such issues. Make adjustments as necessary to achieve a snug fit.
Radio Installation Steps and Time Taken (in Minutes)
Testing and Securing the New Radio for Optimal Performance
After installing your new car radio, testing and securing it is crucial for the best performance. Start by checking the audio quality. Play different types of music to see if the sound is clear. Adjust the settings as necessary. Sometimes, the default settings might not suit every genre. You may need to tweak bass, treble, or balance.
Tips: If the sound cuts in and out, check the wiring connections. Tight connections are essential. Loose wires can cause audio issues, or even damage the radio. Make sure the antenna is properly connected as well. A poor antenna connection can lead to weak radio signals.
Securing the radio is equally important. Use the brackets and screws provided in the installation kit. If they seem flimsy, consider using stronger alternatives. A wobbly radio can be quite annoying. It might also wear out the internal components over time. Double-check that everything is firmly in place. If you notice any rattling, take it apart again and resecure it. Remember, the goal is to create a stable environment for your radio to thrive.